|
UI Accessibility Plugin
Version 1.1.1
Make your UI accessible for visually impaired users
|
|
UI Accessibility Plugin
Version 1.1.1
Make your UI accessible for visually impaired users
|
This page lists the steps necessary to configure UAP for the WebGL platform.
By default, UAP will use the Web Speech API to let the browser make use of the available speech capabilities of the operating system.
Most browsers (including Chrome and Internet Explorer) support Web Speech API.
The plugin currently only supports the English language for this option, and the rate of speech cannot be adjusted.
Alternatively, you can choose a custom TTS solution.
There are two options:
If you want to use the default built-in Web Speech API, no further setup is needed.
UAP can easily be integrated with almost all third-party TTS plugins.
If you already own another TTS plugins or wish to use one, please see the Custom TTS page for instructions on how to connect to a different TTS plugin.
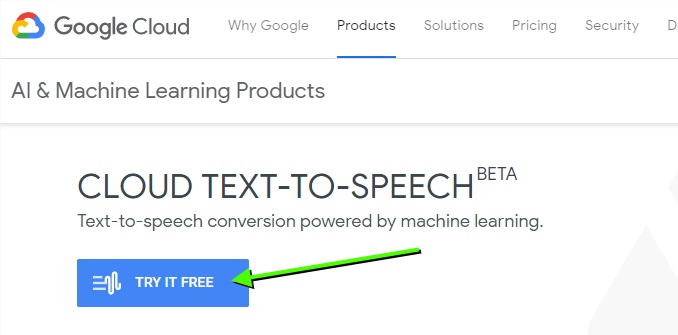
Google's Cloud API offers a Text-To-Speech interface which works great with WebGL.
You can try it out here: Google Cloud Text To Speech
UAP comes with an integrated Google Cloud TTS integration that is ready to be used on WebGL projects.
Because Google Cloud is a paid service, you will need to provide your own API key.
At the time of writing, there is a free tier available (up to 4 million characters/month).
Aside from the free tier, Google also gives you a very gracious trial period, which you can use for development.
See below on how to get a free API key and how to set up UAP to use it.
You can test the implementation inside the Unity Editor - no need to deploy to the web during development.
Go to Google Cloud Text To Speech and select TRY IT FREE.
You will need to accept the Terms of Service in order to continue.
|
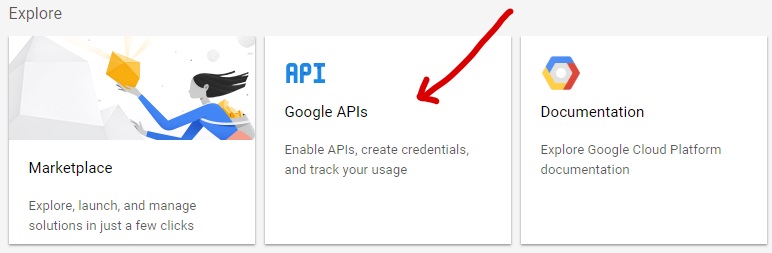
Once you are in the dashboard, select the Google APIs button in the list.
|
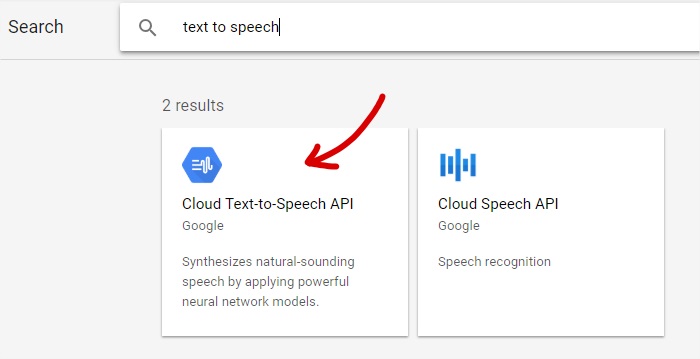
Search and find the Cloud Text-to-Speech API and select it.
|
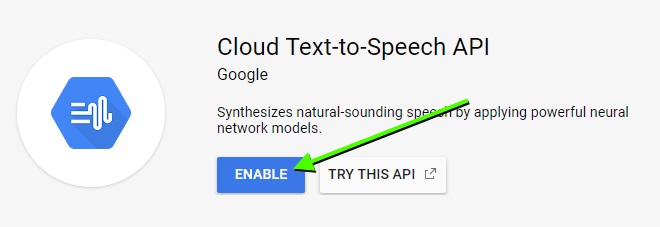
Enable this API - this will take a moment.
|
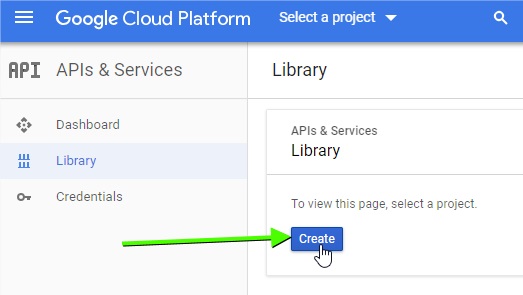
Once it is enabled, you will need to create a new project to use the API.
Select Create and give your project a name. No other settings are required.
|
Almost done!
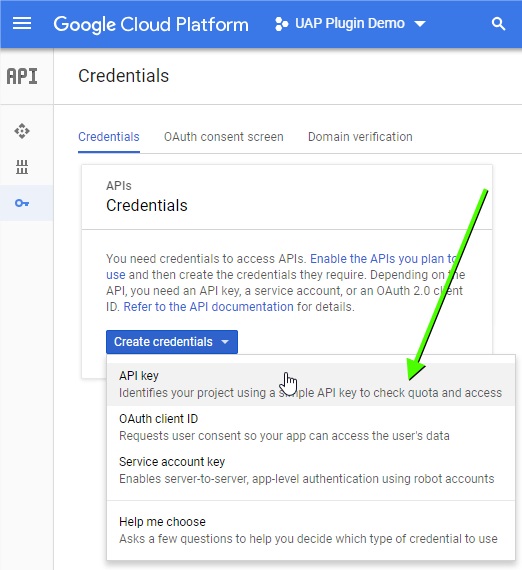
After you've created your project, you can create an API key by adding credentials to the project.
Select API key from the dropdown list.
|
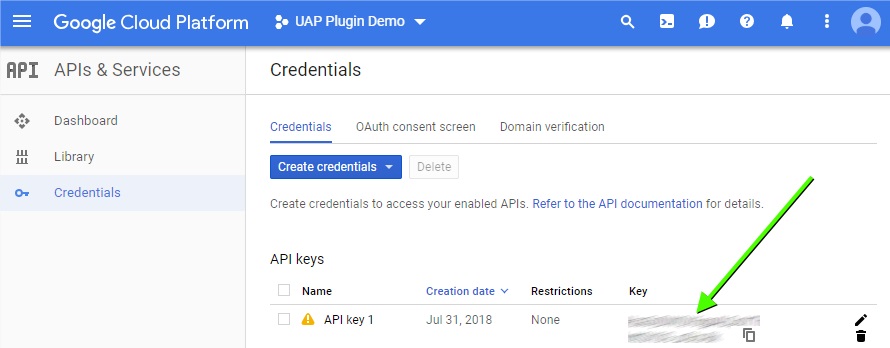
In the next page you will receive your API key.
|
By default, API keys are unrestricted. This means anyone can ready out your API from your application and use your (free or paid) quota.
To avoid this, never deploy with an unrestricted key.
You can set up your website HTTP referrer on the key to only allow requests from your own website to be accepted. Note that this will stop the TTS service from working inside the Unity Editor however.
You could create a second, unrestricted API key for development only, or just work with Windows SAPI TTS while in Editor.
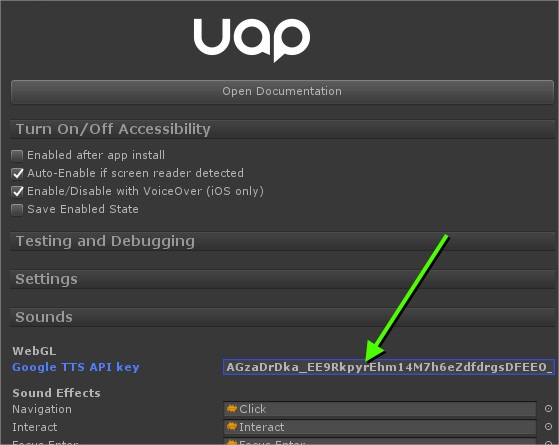
Once you have your key, all you need to do is paste it into the plugin's settings.
The Google TTS section can be found in the Sounds tab on the plugin (see image below).
Don't forget to hit Apply on the UAP prefab to save your changes.
|
| Note: The string shown in the image is not a proper Google API key, but real keys have a similar format. |
 1.8.11